Contents
When it comes to portrait photography, Lindsay Adler is renowned for her glamorous, high-fashion shots of women. But when she turns her lens toward male subjects, she brings the same level of drama, just with a different approach.
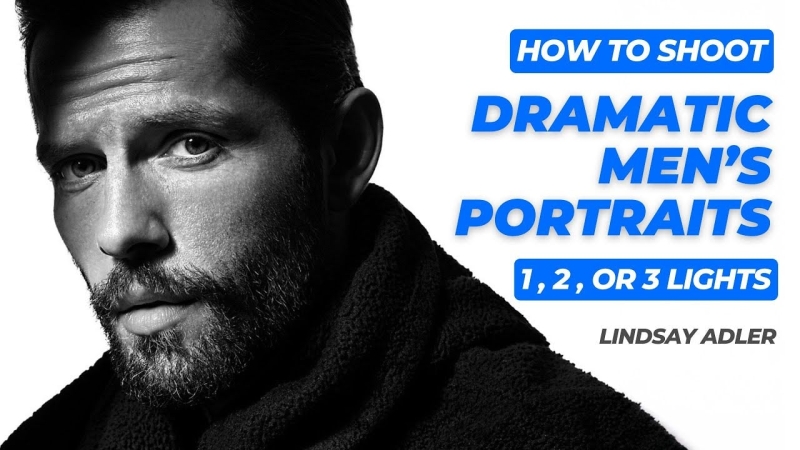
In this tutorial for Adorama, Lindsay breaks down her process for creating striking black-and-white portraits of men using one, two, or even three lights, all within a relatively small space. Her goal is to create sculpted shadows, deep contrast, and images that pop off the page.
A Single Light
Starting Simple
Lindsay begins with a single light: a 3-foot Octabox positioned directly in front of the subject. At first glance, the light is flat and unremarkable. But once converted to black and white with boosted contrast, the image already gains depth.
Introducing Drama
To add dimension, she moves the light off-centre, casting shadows across the face. The farther she feathers the light, the deeper the shadows become. But there’s a catch:
- Watch the background. If the shadows on the face blend into a dark background, the subject loses definition.
- Feathering the light (angling it across rather than directly at the subject) helps darken the backdrop while keeping the subject illuminated.
The Reflector Trick
To add a subtle catchlight in the eyes without flattening the shadows, Lindsay introduces a silver reflector near the light source. This bounces just enough fill light to brighten the eyes while preserving the dramatic contrast.
Pro Tip: Use modeling lights to visualize reflector placement before shooting.
Adding a Second Light for Separation
Switching to a Harder Modifier
For a more defined look, Lindsay swaps the Octabox for a reflector with a grid. This creates sharper shadows and more texture, ideal for a gritty, high-contrast portrait.
Lighting the Background
The second light (a bare strobe behind the subject) blows out the background to pure white, creating a stark contrast against the dark shadows.
- Key Consideration: The background light must be bright enough to overexpose the backdrop while keeping the subject properly exposed.
- Bonus Effect: The Magnum reflector’s light spill can act as an accidental rim light, adding extra separation.
Controlling Light with Flags
To further sculpt the light, Lindsay uses a black flag (a piece of black fabric or cardboard) to block light from one side of the face. This tightens the highlight, creating a more dramatic, directional look.
Pro Tip: The closer the flag is to the subject, the crisper the shadow edge.
Three Lights for Maximum Impact
The Optical Spot for Precision
For her final setup, Lindsay introduces a Westcott Optical Spot, a speciality modifier that creates razor-thin slices of light.
- Main Light: A 150mm lens on the Optical Spot produces a tight beam, mimicking sunlight through a doorway.
- Background Light: A second Optical Spot paints a graphic streak across the backdrop.
Using Light Spill Creatively
Lindsay notices that the Optical Spot leaks a small amount of light, so she positions it to act as an unintentional rim light, adding depth without needing a fourth strobe.
Fill Light for Detail
A third light (a medium umbrella with diffusion) lifts shadows just enough to reveal texture in the beard and clothing without losing the shot’s moody feel.
Pro Tip: Adjust the fill light’s power to fine-tune the drama-less fill for deeper shadows and more for subtle detail.
What Makes a Portrait Dramatic?
For Lindsay, drama in portraits comes from:
- Deep, sculpted shadows
- Strong contrast
- Controlled highlights
- Expressive posing and expression
Whether using one, two, or three lights, the key is intentionality. Every light has a purpose: separation, texture, or mood, and mastering their interplay is what creates a truly striking image.

