
Contents

A talented artist friend recently asked me for help photographing flowers. Josie McCoy is well known for her stunning portraits of TV and film personalities, but she wanted to see what she could create using flowers as a subject. I knew it was the perfect opportunity to explore the art of still-life flower photography using basic entry-level gear.
Josie already had the essentials. She had a DSLR camera, a 50mm ‘nifty fifty’ lens, and a couple of cheap LED lights in softboxes. She also knew exactly the look she was after, so the challenge was to help her translate her artistic vision into some simple yet beautiful floral photography.
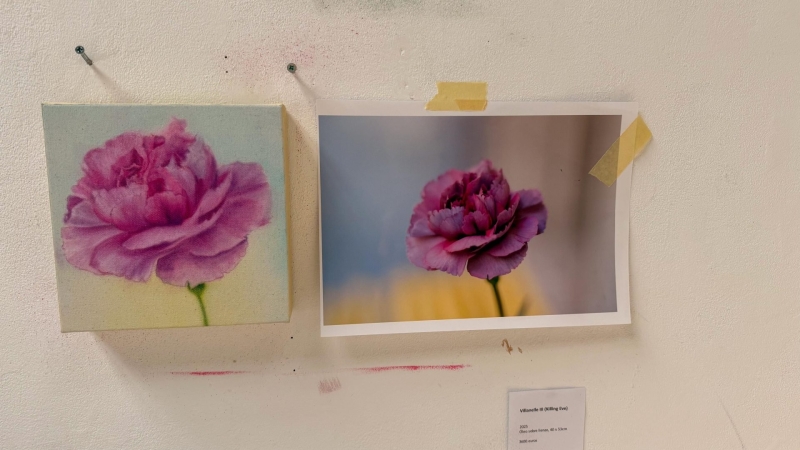
Painting and photo by the artist Josie McCoy
In this article, I’ll walk you through how we set up her indoor flower shoot using simple lighting techniques and the equipment she already owned. Whether you’re an artist like Josie or a photography enthusiast looking to experiment with studio flower photography, this guide will show you how to create three very simple lighting setups without the need for expensive gear.
The Equipment
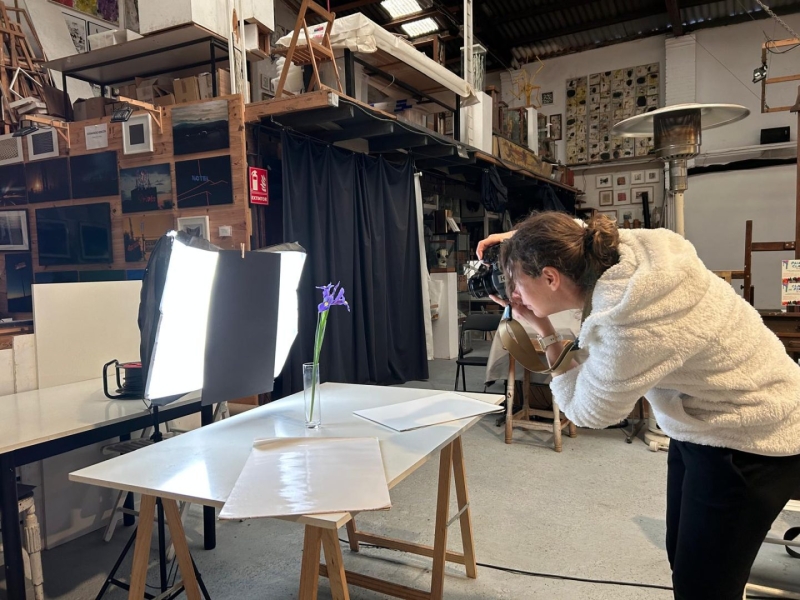
For this indoor flower shoot, we wanted to keep things simple so that Josie would be able to keep shooting by herself. We used her Canon EOS 2000D camera body paired with a 50mm f/1.8 lens. I also shot with my Canon EOS R6 Mark II for comparison purposes.

Because there’s no natural light in Josie’s studio, we used a basic LED continuous light inside a softbox (like these), which provided soft, even illumination perfect for this type of studio flower photography. A couple of basic white cards served as reflectors to bounce light back onto the flowers, ensuring subtle highlights and reducing harsh shadows. You could also use a window as your light source and cover it with a translucent material to diffuse the light.
We bought a few different fresh flower stems from a shop around the corner, which also served really good coffee, so we started the shoot fully caffeinated (this is important!).
You will need:
- DSLR Camera body and lens (we used a 50mm on an APS-C body)
- Tripod
- One light source (window, continuous LED or flash)
- Softbox (or diffusion material if using a window)
- Table
- White cards to use as reflectors
- Black card or paper for the background, plus clips
Flowers and vase (to stand the flowers up)
Camera Settings
Because the light wasn’t very powerful, we set the ISO to 400, the aperture to f/5.6, and the shutter speed to 1/60. The camera was mounted on a tripod. Obviously, you can play around with the settings depending on the power of your light. If you’re using flash instead of continuous light, keeping the shutter around 1/125 or 1/160 is usually a good bet, and you can lower your ISO accordingly as well.
The 180° of TableTop Photography
When I’m shooting tabletop photography or still life, I try to imagine a semi-circle arc behind the subject. A basic rule of thumb is that you can put the key light anywhere on this arc. Obviously, this isn’t a hard and fast rule, and you can, of course, put the light wherever you like. However, for people just starting out with artificial lighting, this is a great place to begin. You can then use reflectors, mirrors, or bounce cards and flags to control the light further.
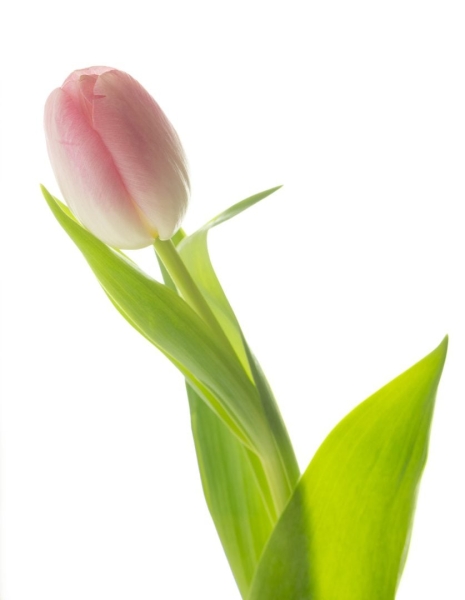
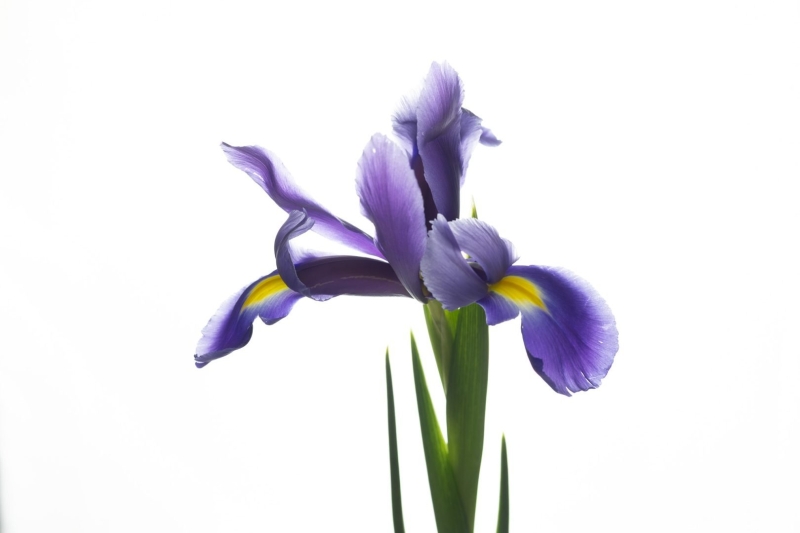
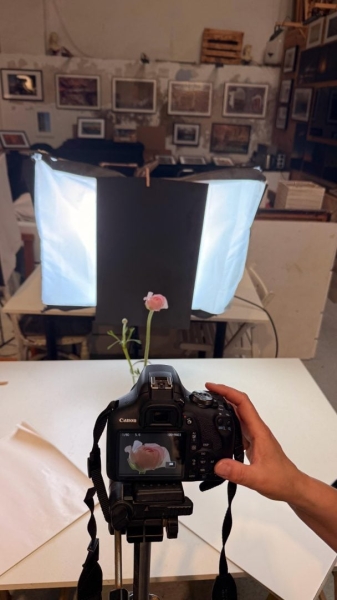
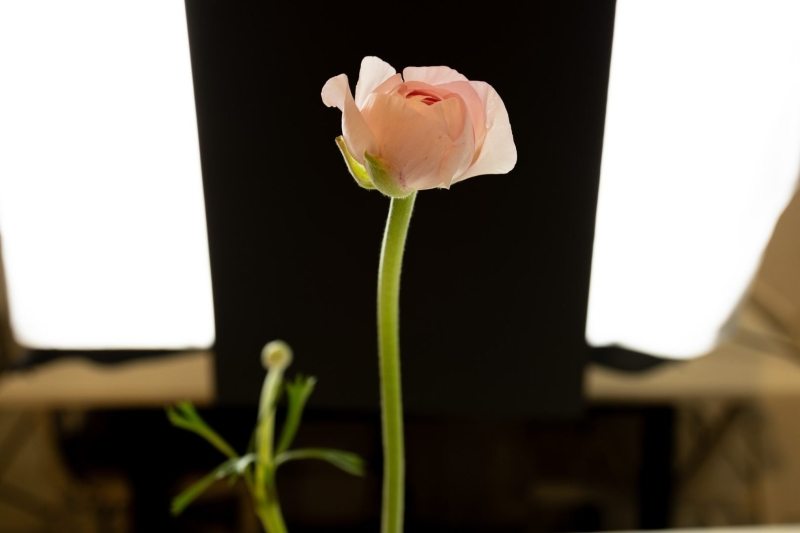
Set Up 1: High Key Backlit with White Background
The first set-up used a white background. Now, you can use a white paper background and light it separately. However, we wanted a high-key effect to show the flower petal’s translucent qualities, so we actually used the light in the softbox as the background.
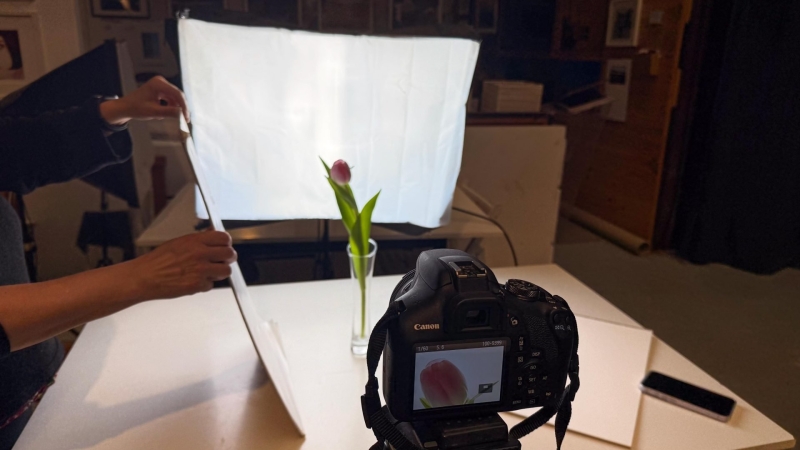
We simply placed the light behind the subject and used 2 bounce cards (one to each side of the camera) to reflect the light back into the shadows.
Here are some of the images taken with this set up (all are SOOC with no editing):
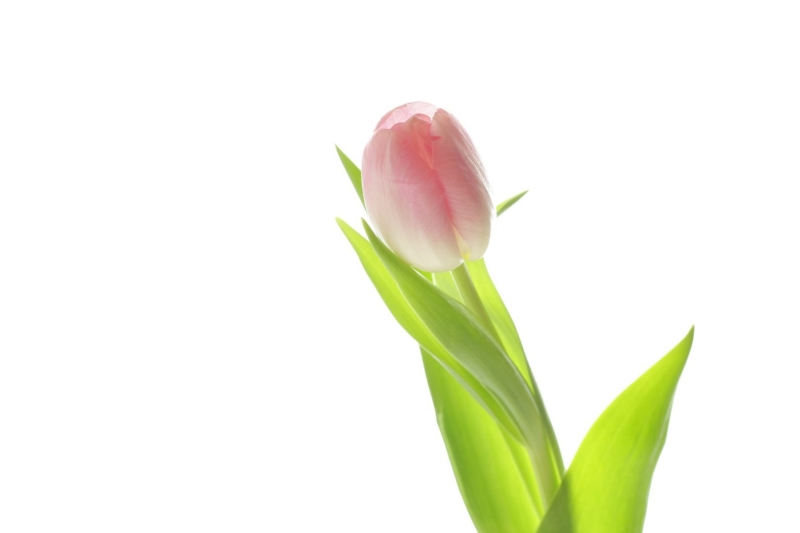
The photo taken by Josie on her Canon EOS 2000D 50mm f/1.8
My photo taken on the Canon R6 Mark II, 50mm f/1.8. There is a distinct difference in sharpness but enough to warrant the $2000 price difference? You decide!
R6 Mark II
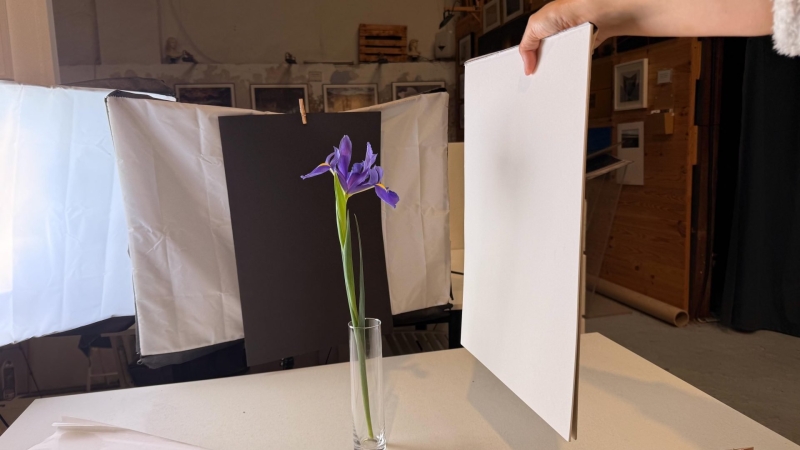
Set Up 2: Dark Background with Rim Light
The second set-up used the light in the same position as set-up 1. However, instead of using the plain light as a background, we clipped a piece of black paper to the middle of the softbox. This black paper doubled as both the background and a flag and created a rim light on both sides of the flower. It’s effectively like creating two stripboxes.
You can see in the photos that the light wraps around the flower, particularly the stem, lighting up the outline beautifully. Once again we experimented with white bounce cards to fill in the shadows slightly.
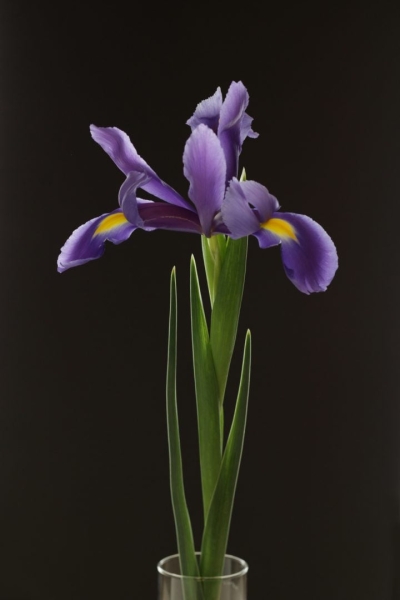
Above Shot on the Canon 2000D
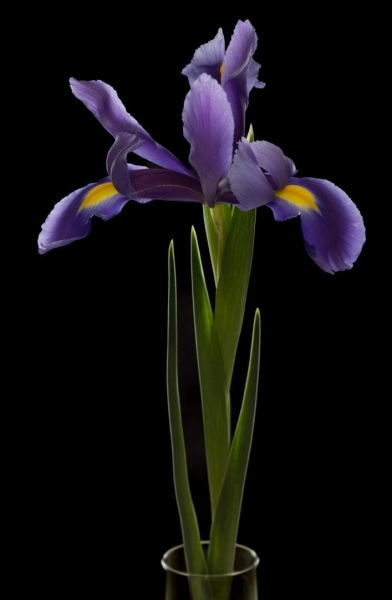
Shot on the R6 Mark II
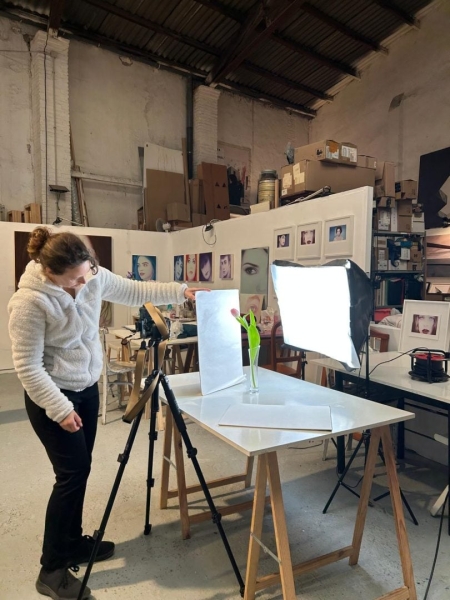
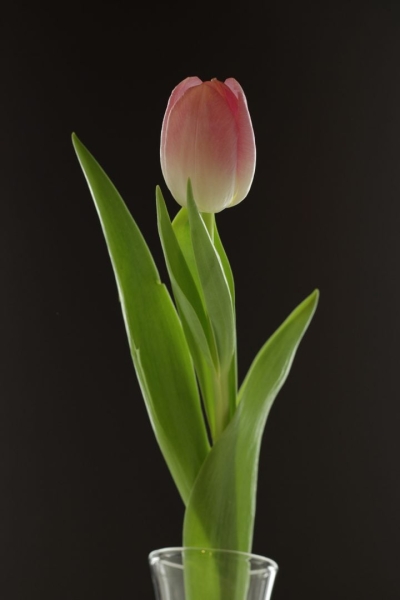
Set Up 3: Dark Background, 3/4 Side Light
For the final setup, we moved the light to the camera left of the background, at a roughly three-quarter angle to the flower. This created a different look again with side/behind lighting. Again, it was important to use a white card reflector on the opposite side of the flower to fill in the shadows.
You notice that to the eye, the difference between using the bounce cards and not is very subtle. However, when viewed in the camera or in the photos, the difference is obvious. You can see the difference in the two images below, with and without the bounce card.
If using white card you will often need to have the cards in very close, you can remove them from the image later in post. If you want really bright specular highlights, you can also use a hand mirror to bounce the light back onto the subject. It’s fun to play around with different placements and types of reflectors to see what effect you like the best.
Conclusion
Helping Josie navigate the world of flower photography was a rewarding experience, and it reinforced the idea that creativity often outweighs the need for expensive equipment. With just her Canon EOS 2000D, a 50mm lens, a single LED light, and a few simple accessories, she produced stunning floral photography that captured the essence of her artistic vision. She now has the knowledge to shoot flower portraits that she can then use as inspiration to paint.
Whether you’re an artist, a hobbyist, or someone just starting out in photography, this project shows how easy and satisfying studio flower photography can be. So, grab your gear, pick some flowers, and start experimenting. You might be surprised at what you can create with what you already have.